UCS Millennium Falcon Motorized Ramp Question
I have the UCS Millennium Falcon Sound and Light kit installed. I believe it's V2. It was a while ago that I had installed it. I purchased the Motorized Boarding Ramp Add-on Kit a while back and have yet to install it, but before I do I had a question about the remote. I had installed custom sounds to the kit. They are activated using the "D" button on the remote. I'm looking at the instructions and it states that the ramp will be activated by the same "D" button. Will I be able to activate both my custom sounds and the ramp with the "D" button?
Looking back at the Sound and Light Kit instructions, it states that the "D" button supports two special configuration modes. To activate the sounds you give the button a short press. Looking at the Motorized Ramp instructions, it states that the ramp is activated when you give the button a long press. So do I have the correct understanding that I will be able to control both the custom sounds that I installed and the ramp with the "D" button?
Please let me know if my understanding is correct and if it is possible to control both the ramp and the custom sounds with the remote.
7 replies
-
Hello , thanks for your question. You are correct: a "short" press of the D button will trigger the sounds, while a "long" press (>1 second) will activate the ramp. You'll be able to use both the custom sounds and ramp with that same button. Once you've got the ramp installed, please let us know if you have any additional questions.
Thank you.
-
Hello , Thank you for your response. I have another question.
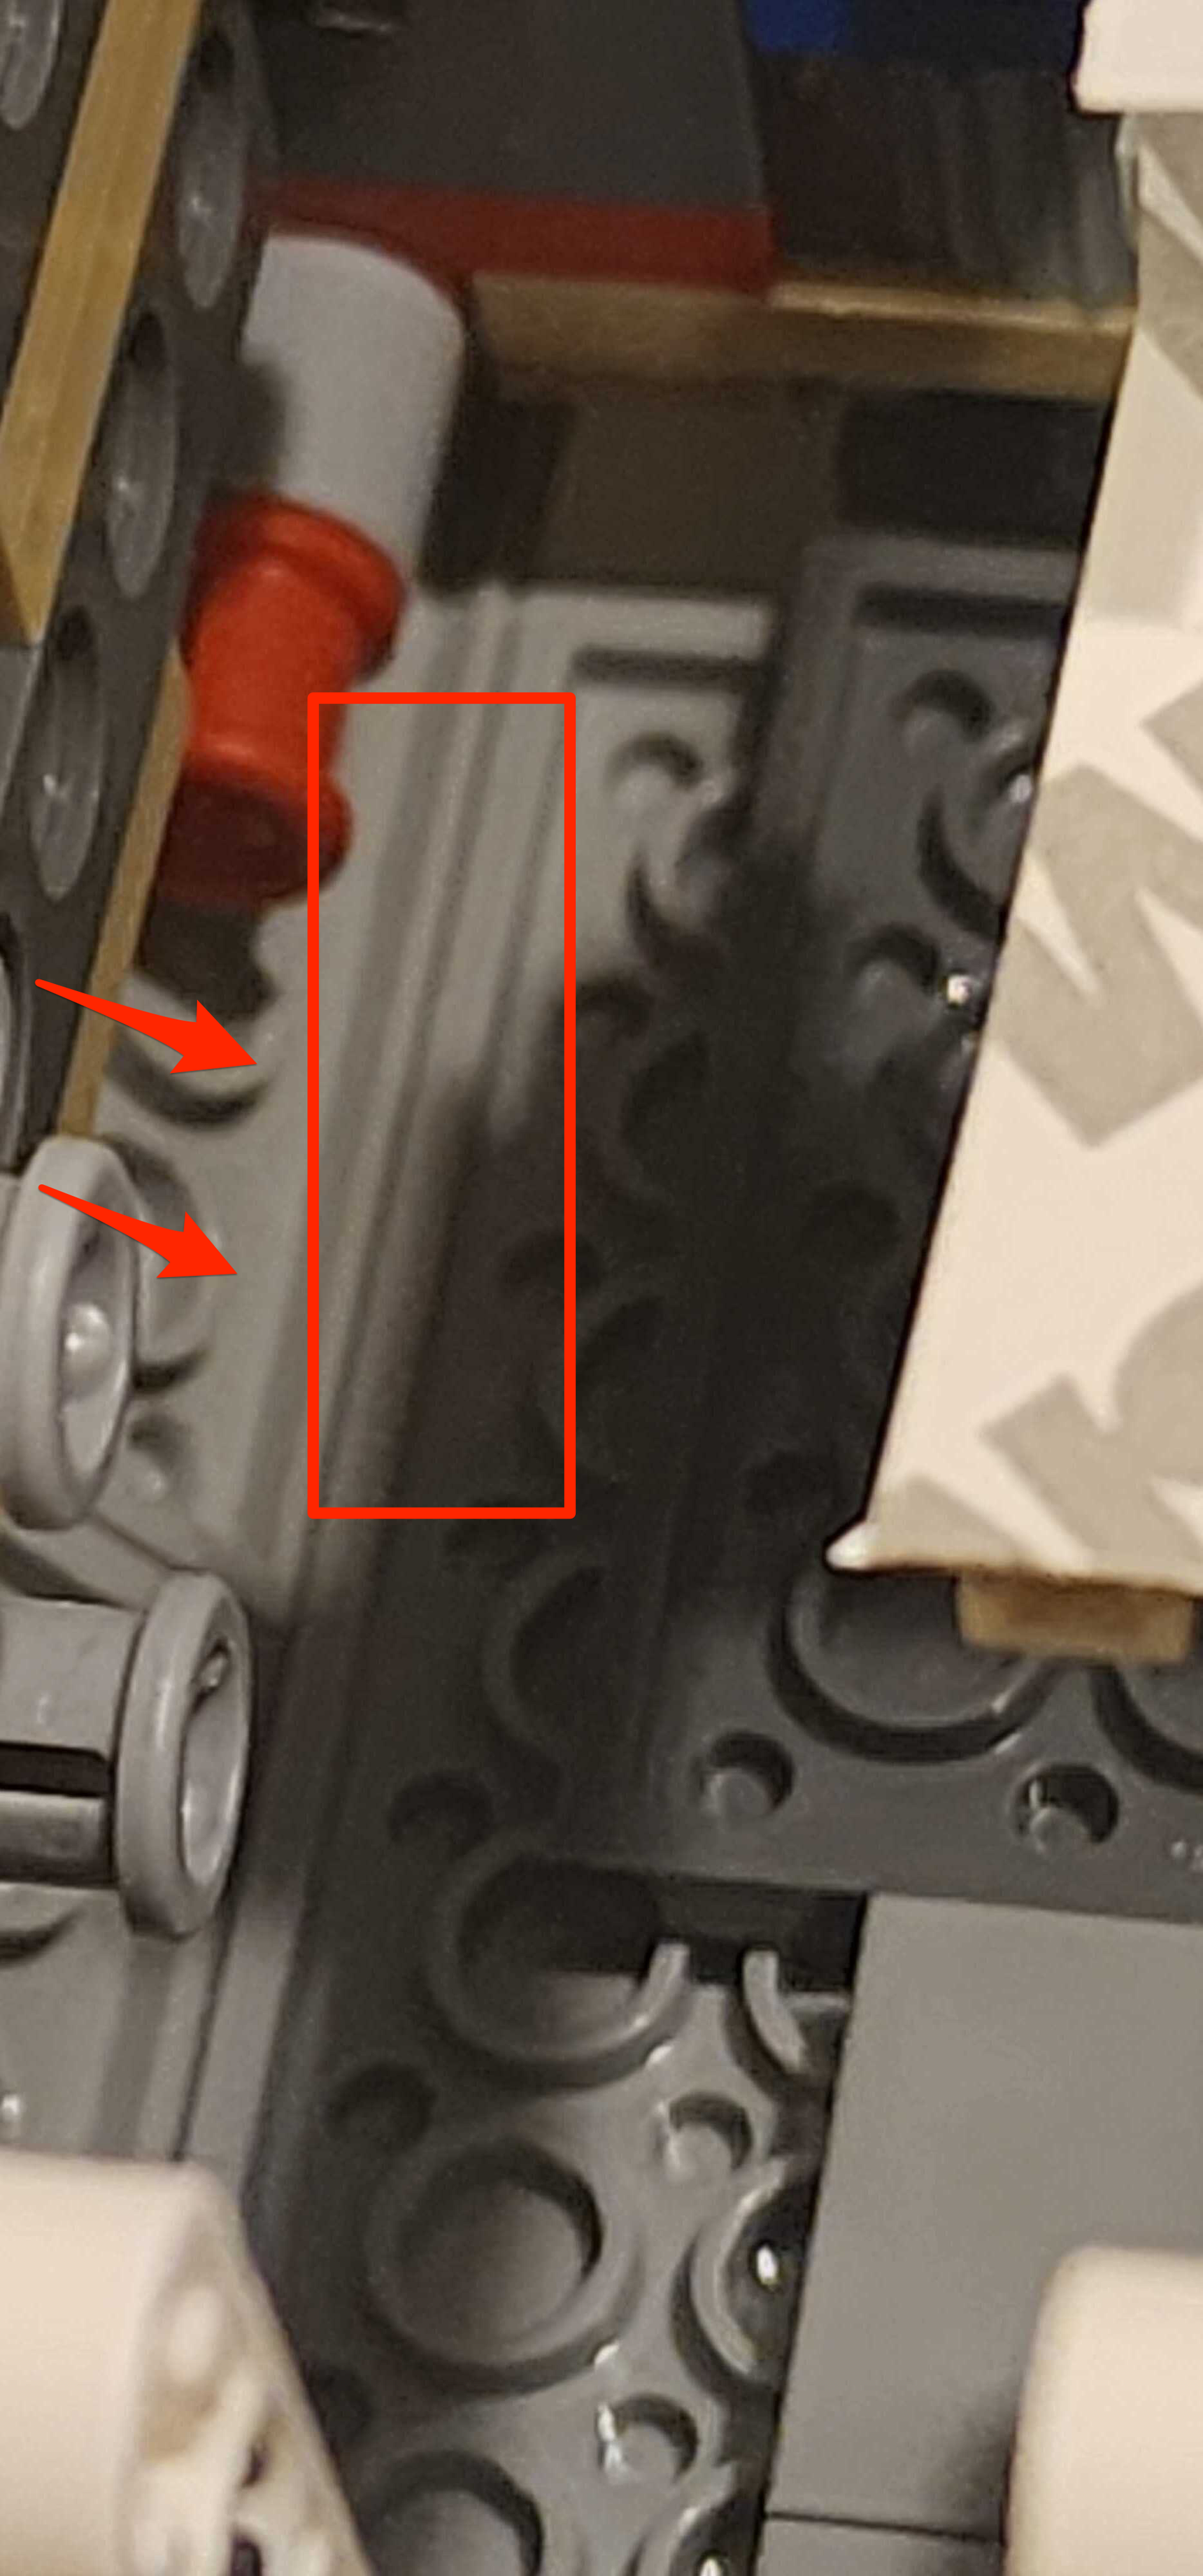
I am on Step 8, preparing the long black axle. I'm trying to pass the axle through the outer frame into the boarding ramp area. It's supposed to pass into the turquoise beam. However the gap that I'm to pass the axle through doesn't seem wide enough to go into the turquoise beam. I can't really adjust the panel below it. Am I supposed to move something in order for the axle to pass through?
-
Please disregard. I was able to pass it through successfully.
-
Hello , I have successfully completed installation of the motorized ramp and it is working flawlessly! Thank you! Per your response above, I can confirm that my embedded custom sounds are still working with the "D" button in addition to the operation of the ramp itself. I thought to share some slight modifications that I did to get around some challenges I experienced with the installation. Hopefully it will be helpful for anyone else going through the process.
As I mentioned above, it's a very tight fit to get the long black axle through the gap to the turquoise technic beam. And knowing now how much little torque is necessary to get the ramp moving, having the axle pinned between the gap would not have allowed it to turn at all. The culprit was a 2x4 plate that the axle is touching. The other problem that this caused was that the pressure built by this contact was pressing down on that whole outer hull panel and causing a binding with the ramp plate that prevented it from opening and closing freely.
-
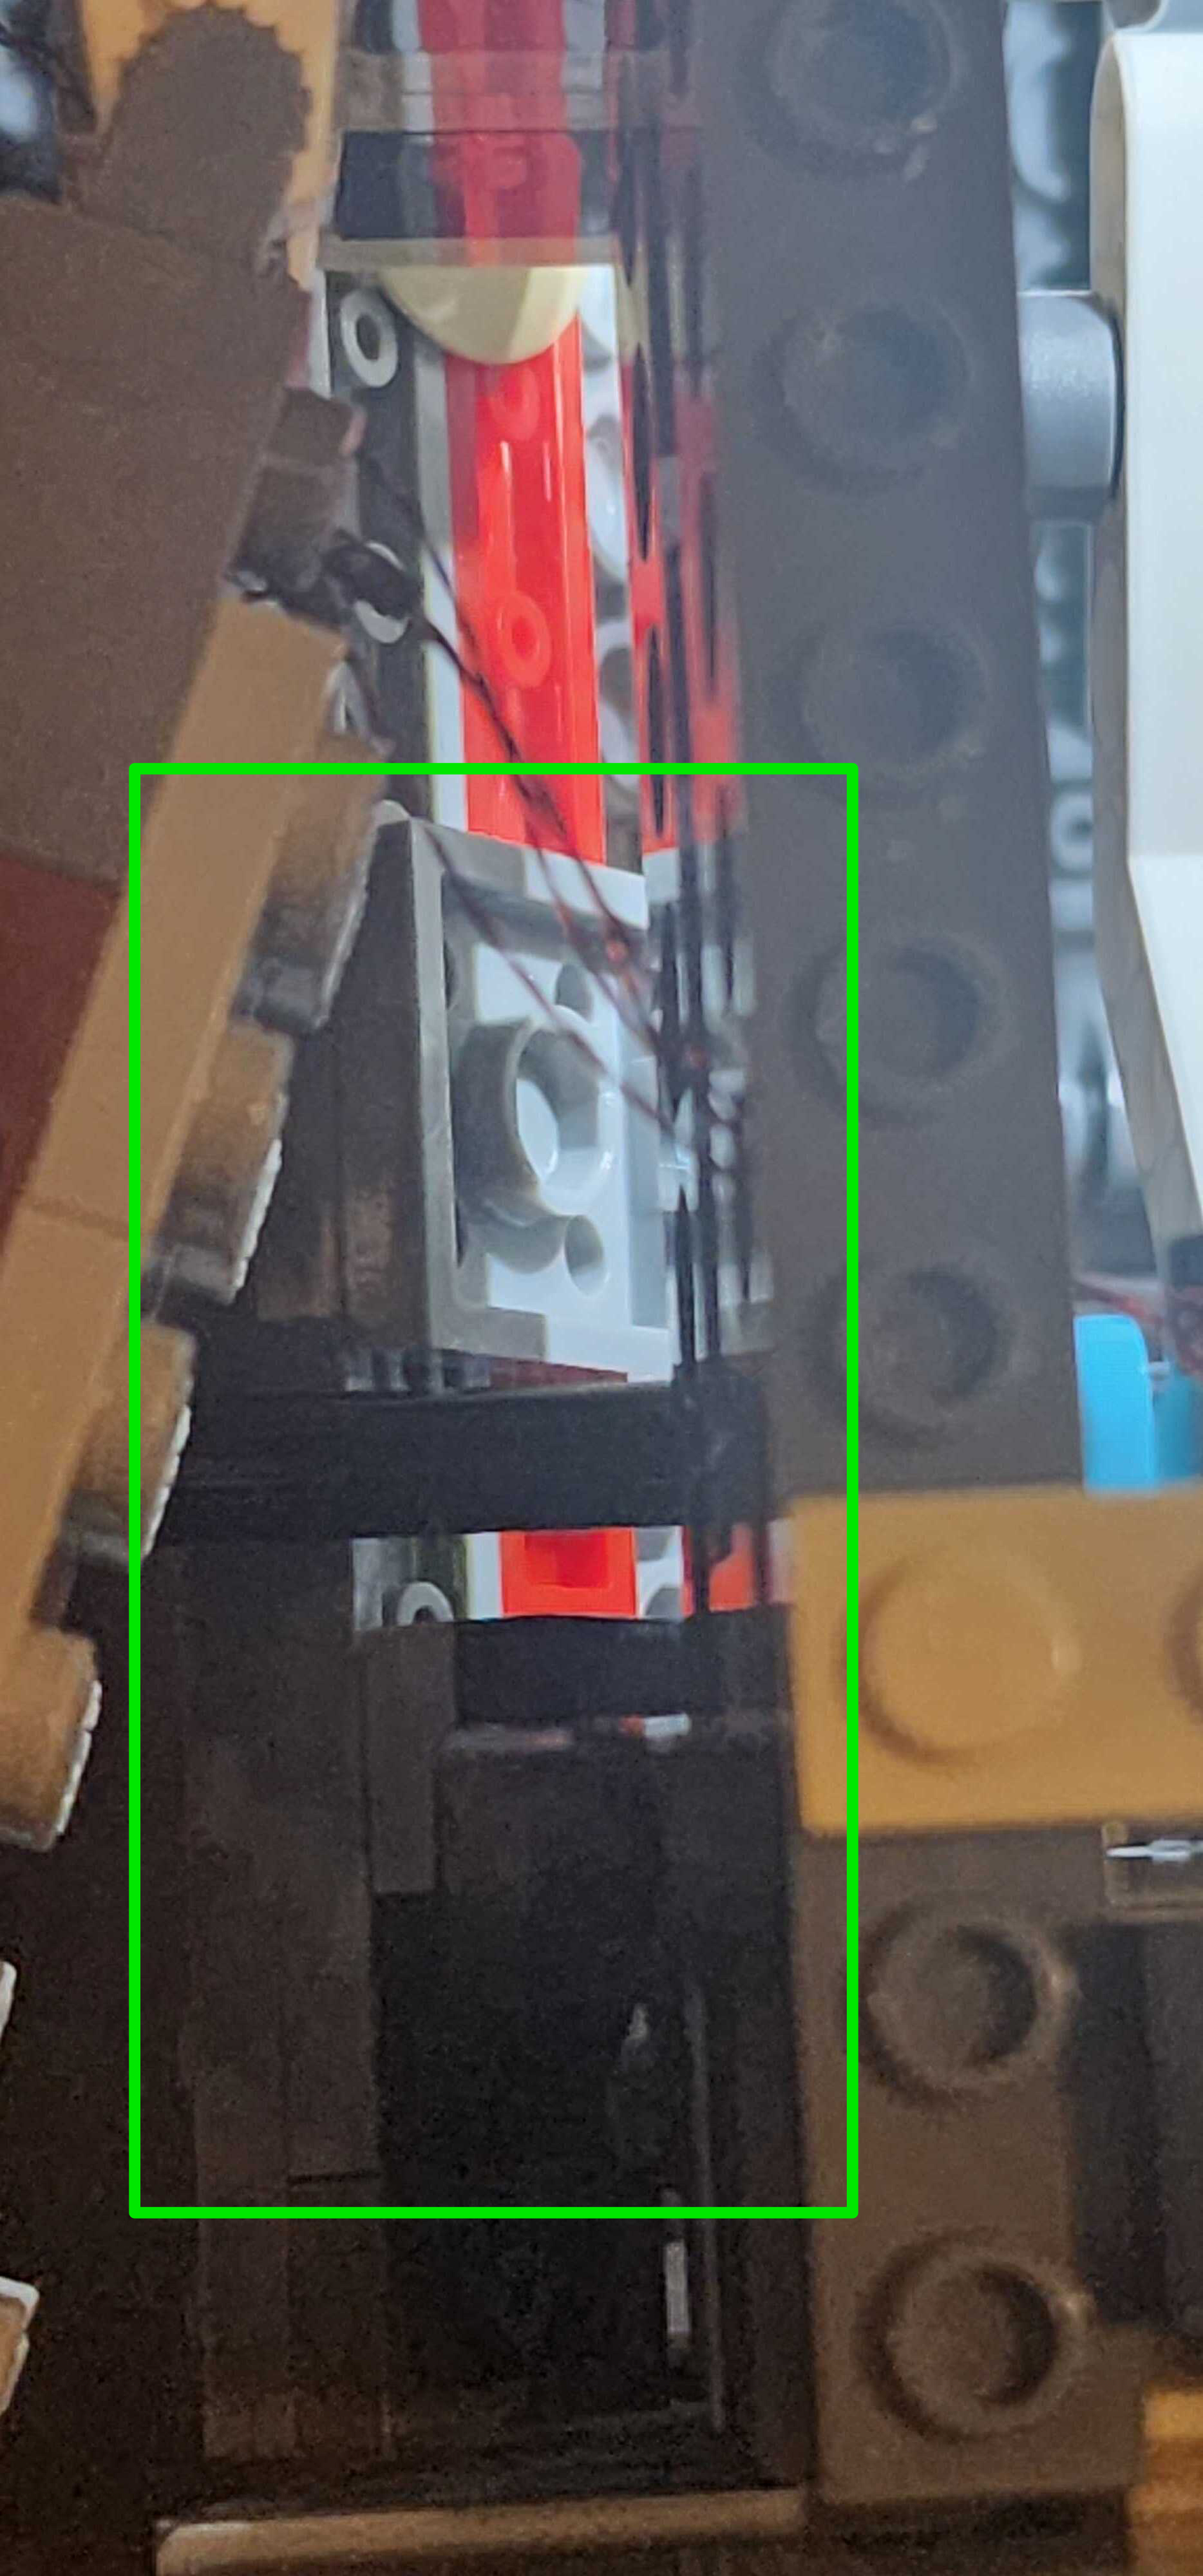
I was able to replace it with 1x2 plate that the black slope would sit on and a 2x2 plate, one stud away, leaving a 1 stud gap for the axel to go through. This allowed for the axel to spin freely with no impediments, and also relieved the pressure from the outer hull piece on the ramp, allowing that to open and close completely with no impediments. -
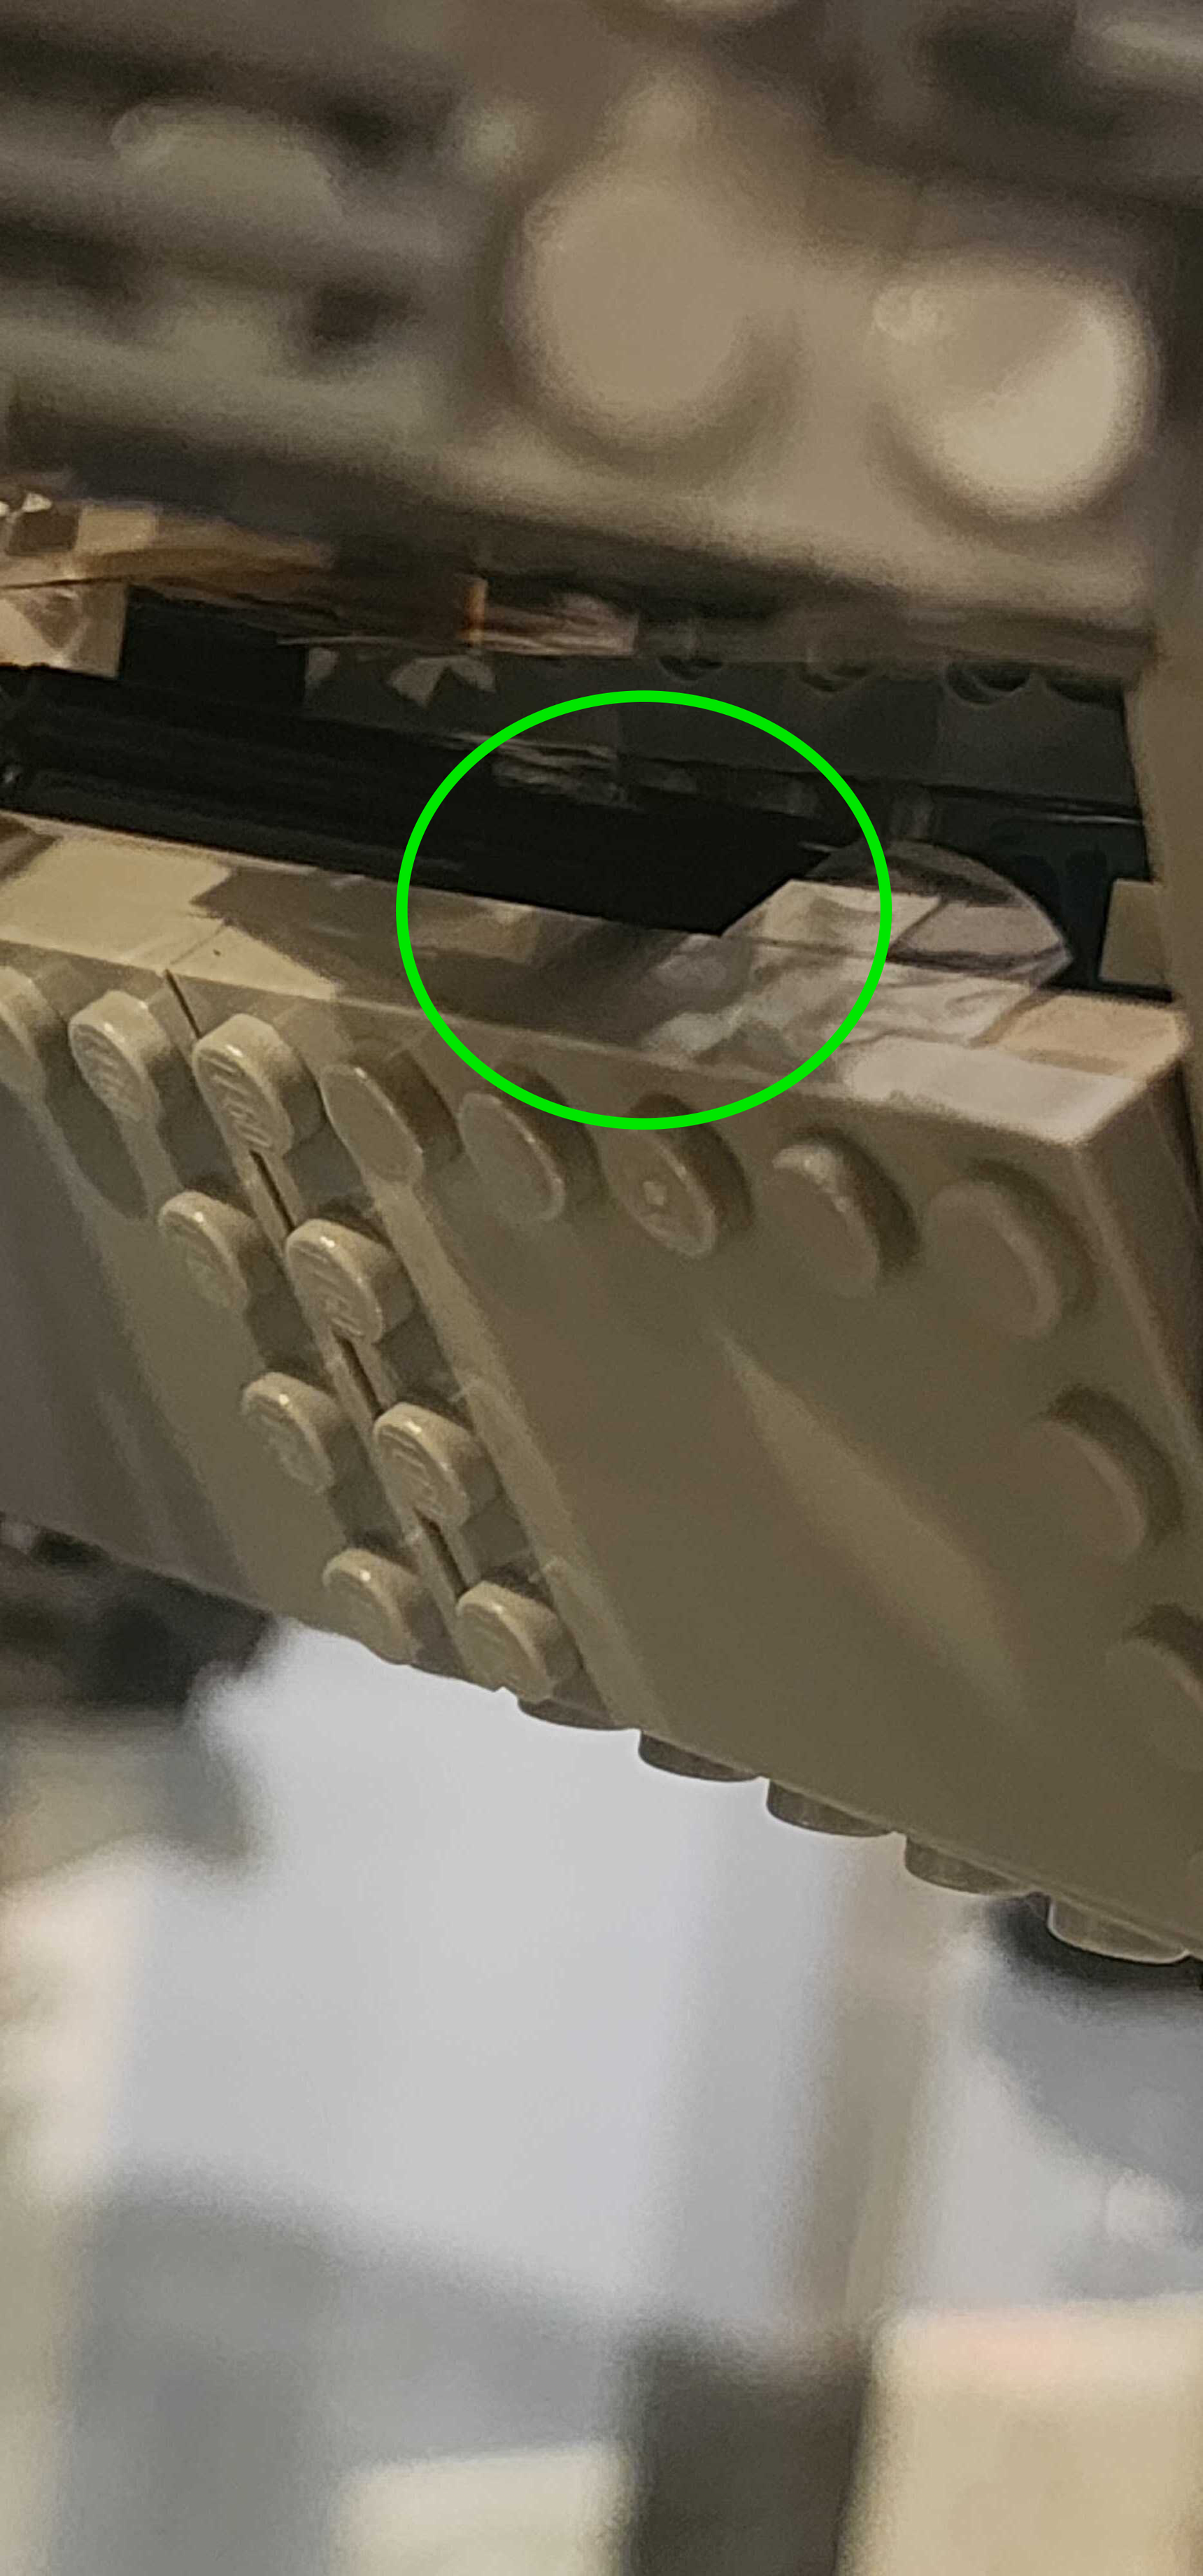
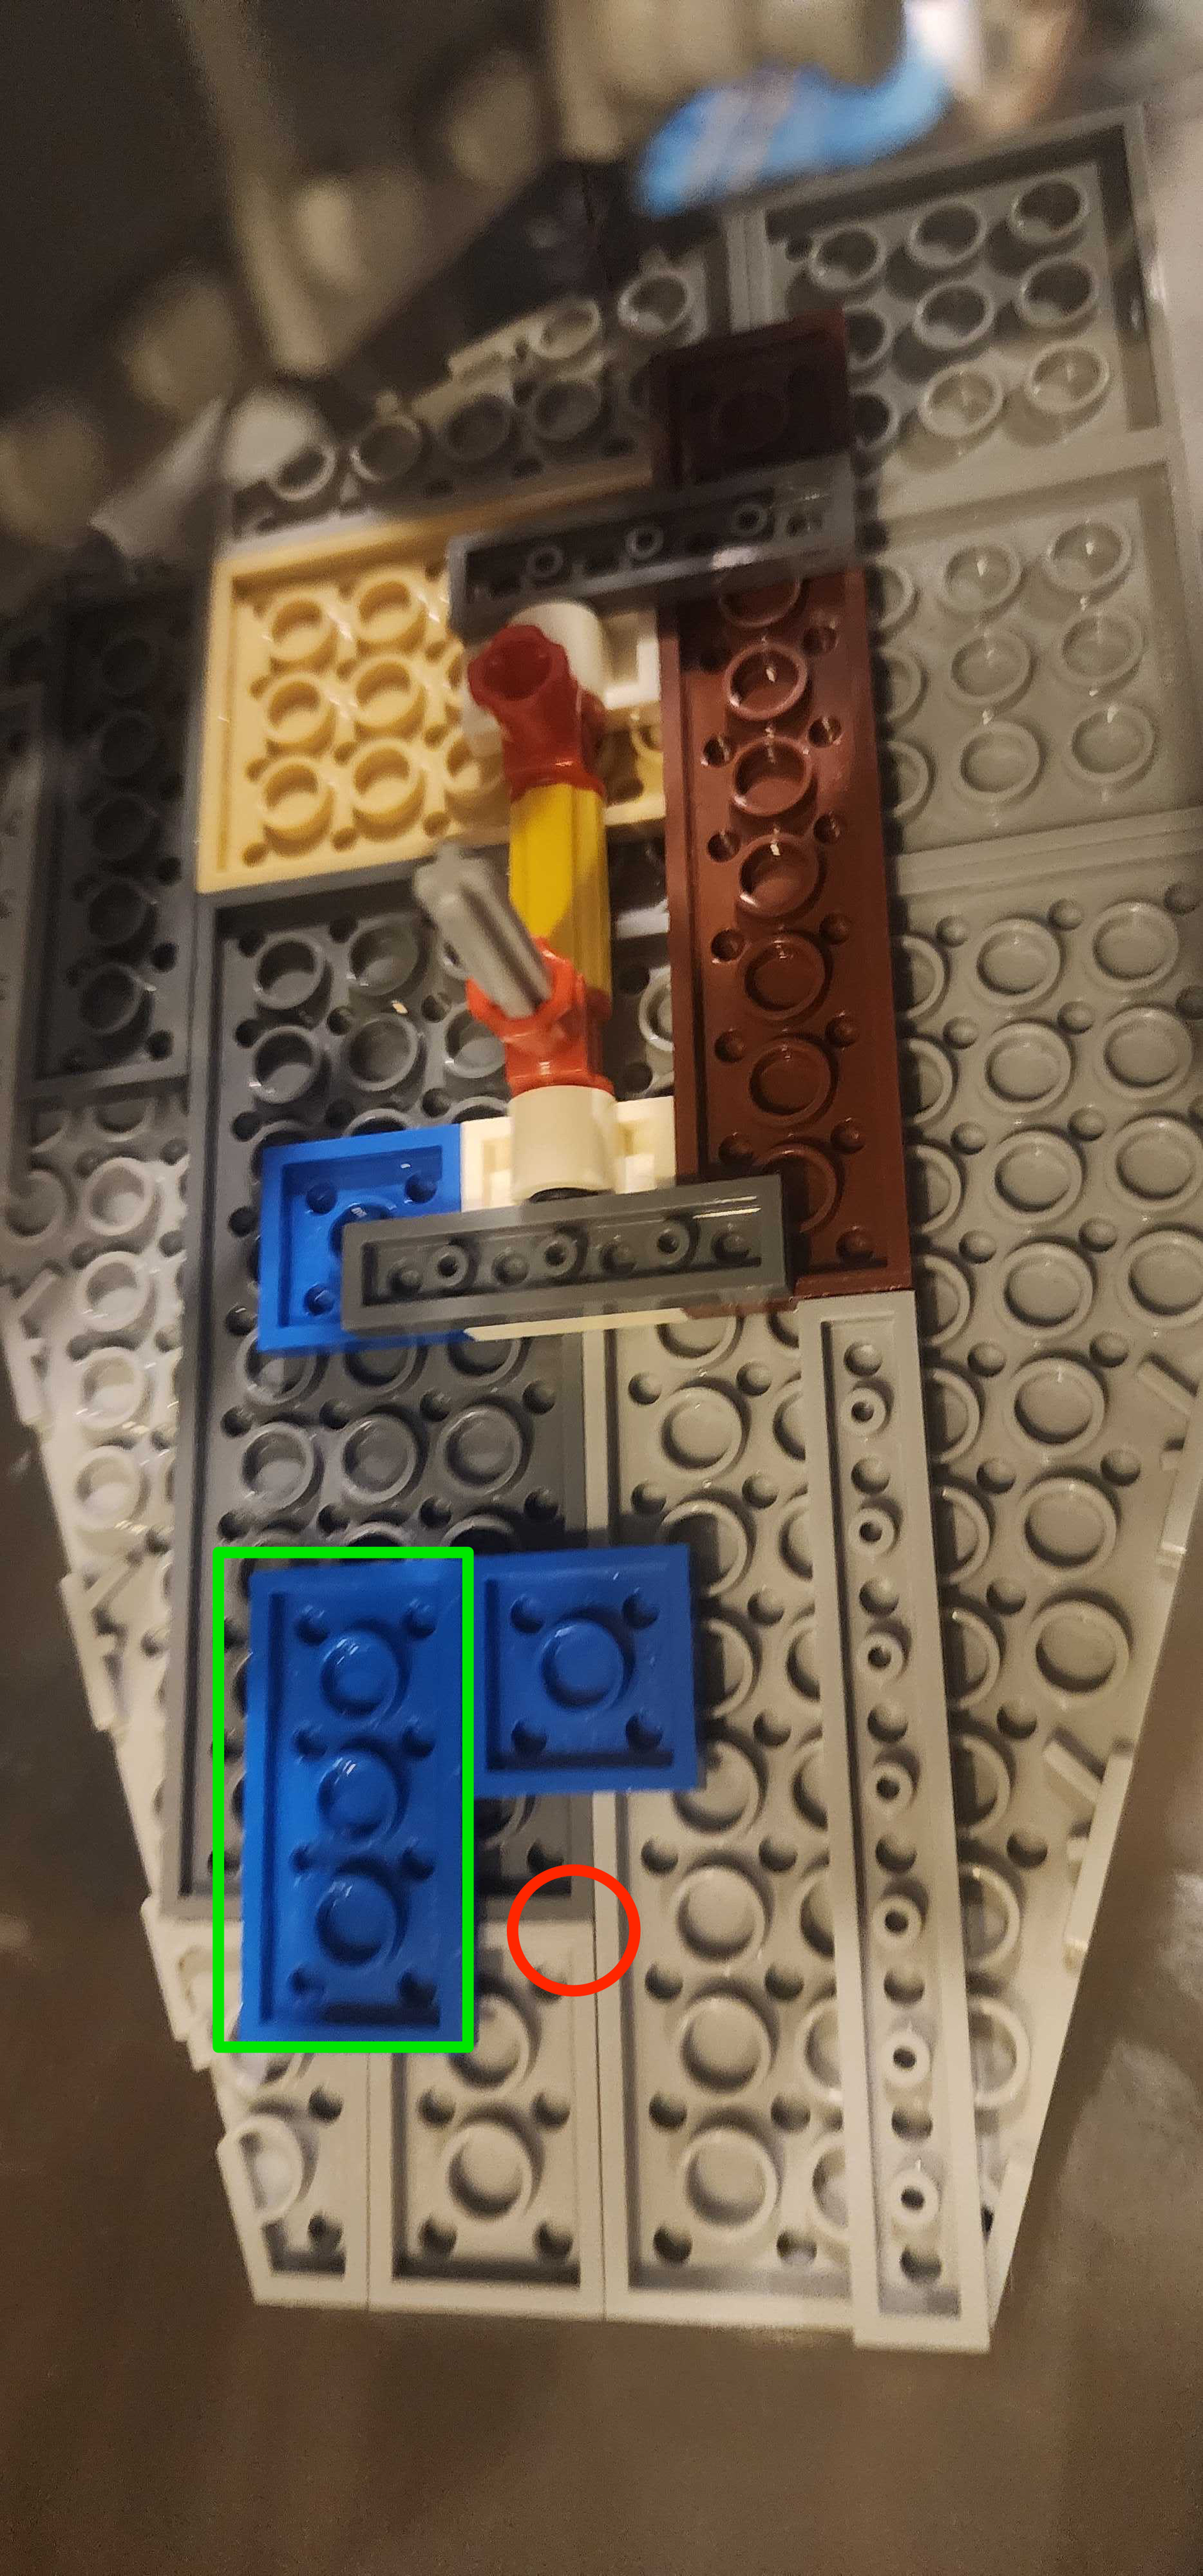
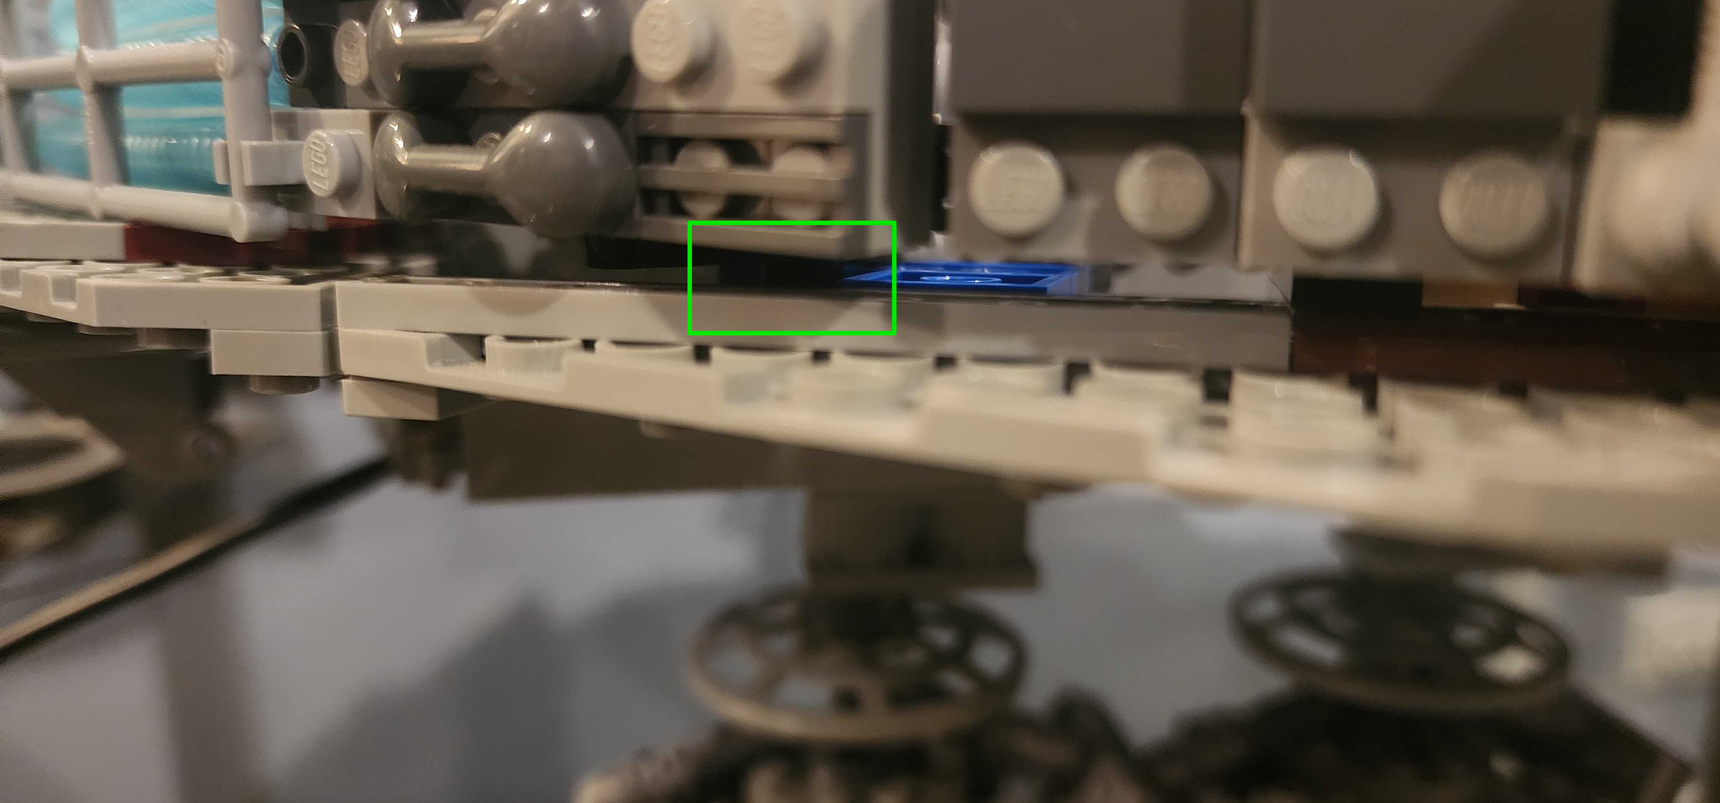
The final adjustment I made was during replacement of the outer hull panels after the motor was installed. I noticed that the bottom panel, when replaced was crooked. This was due to the bottom lever that holds the axle of the motor was pressing up against the blue 2x4 plate in the inner side of that hull plate. In the picture I have a red circle of where it was originally making contact with the plate and a green rectangle to show how I reoriented that plate. Afterward, the bottom hull plate aligned perfectly.
-
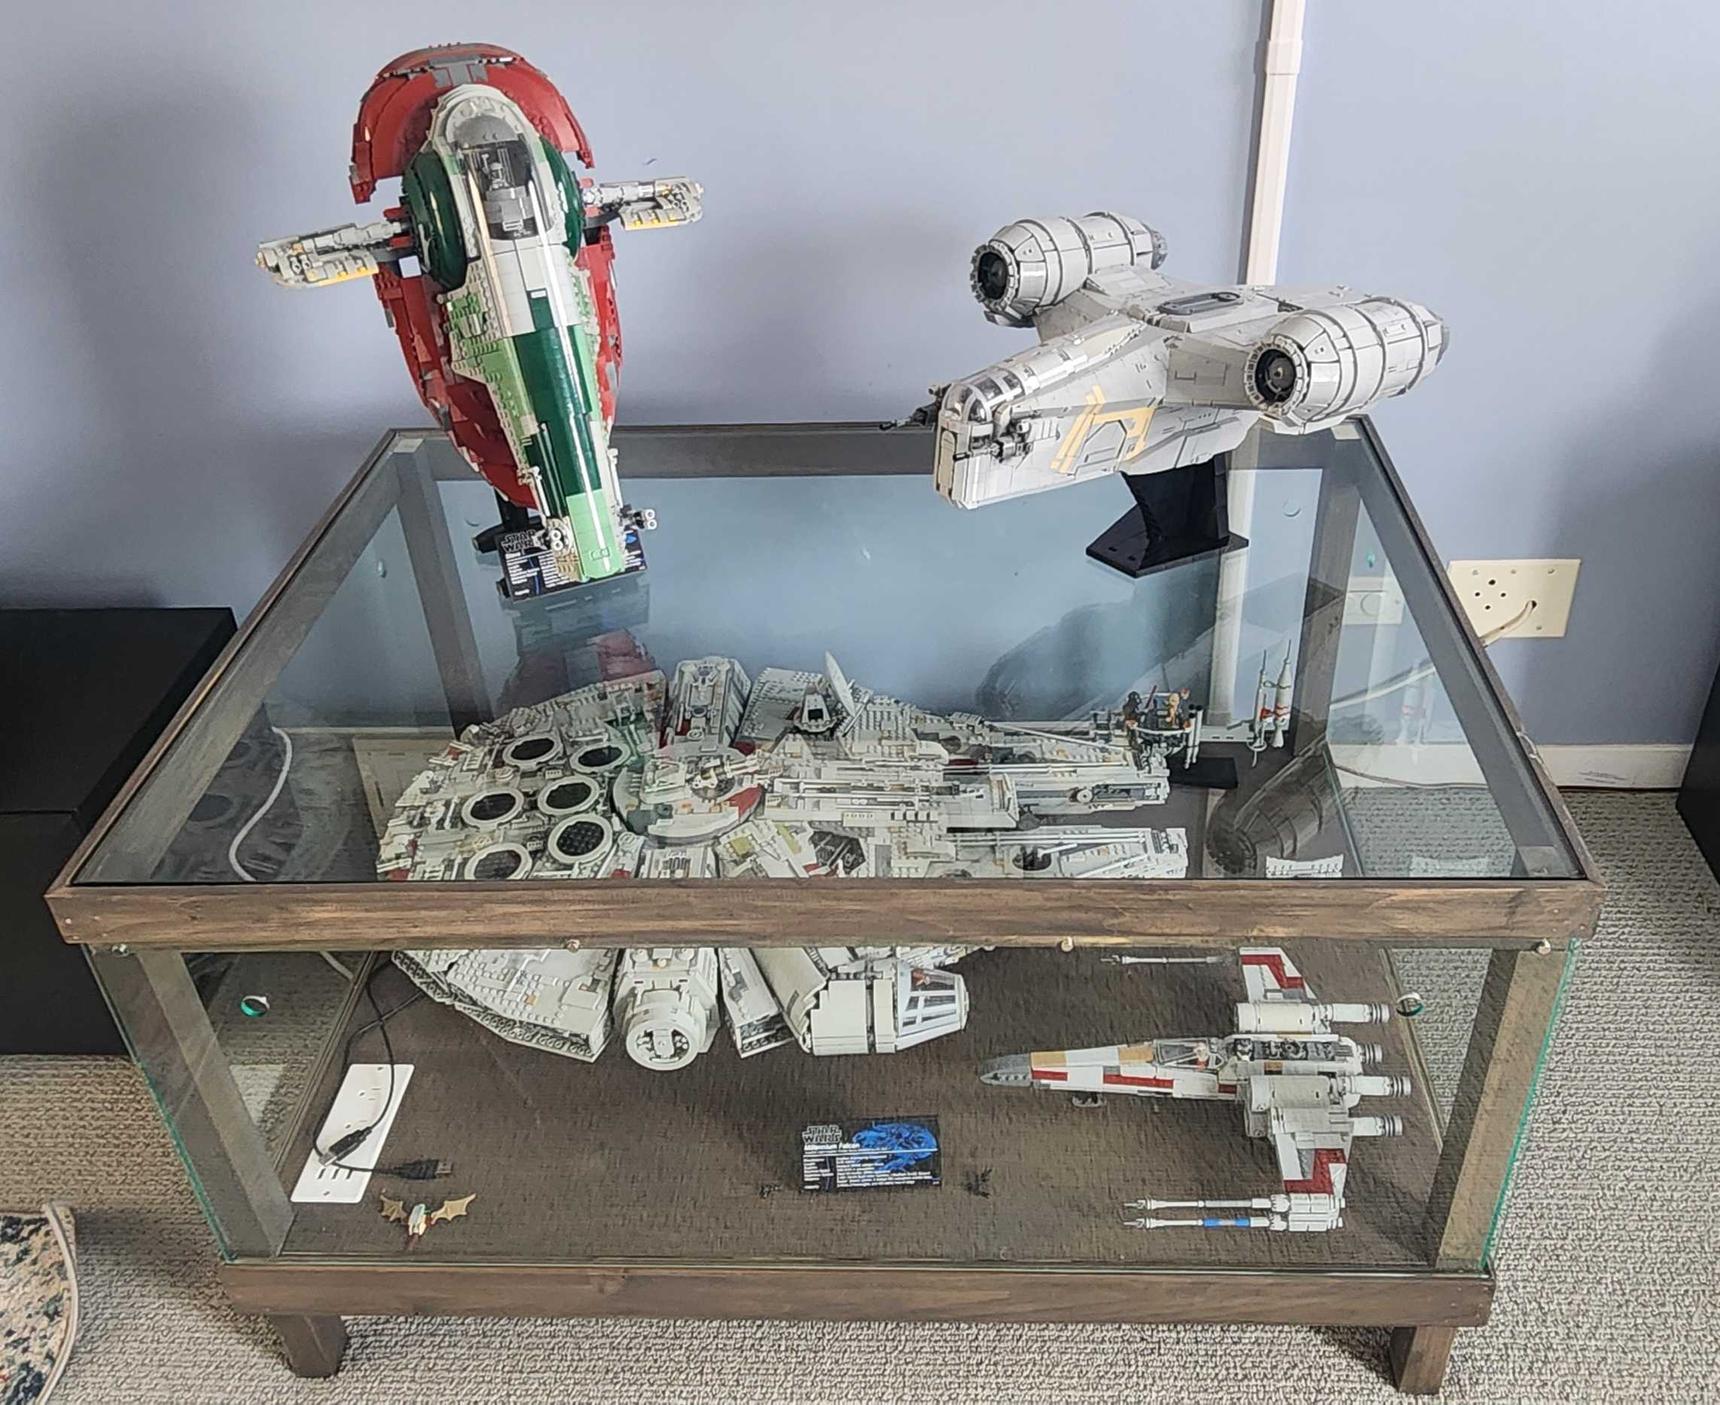
Ultimately it wasn't as complicated as I thought it would be. I had the most anxiety of just reopening the build and working around inside because it has been a few years since I initially installed the sound and light kit. I had been putting it off until I finally wrapped up building my display table for the build. That in itself came with its own complications. But in the end, I think it all turned out great! Thanks again!