
Everyone gather at the Town Hall!!
For our second modular project, we decided to tackle the Town Hall. This one is one of the older modulars and you can still find them for sale from some collectors on Amazon and a few of the other sites around. It's a little pricy if you're looking to buy it, but honestly, for the price of all the parts, it's pretty much a break even when you consider how much time it'll take to get all the parts together for this one individually.
My son and I wanted to do this one next, as it's the central piece of the Lego town (from a modular perspective :) ), and it is one of the largest modulars as well (of course, the new 2017 modular building is much bigger in terms of parts!). And, we really wanted to see how the working elevator functions in the building as well! So, all that being said, I'll go through the construction and I'll put a detailed part listing at the end as well as some specific building notes as well.
So, on the build! We'll start with the first floor:
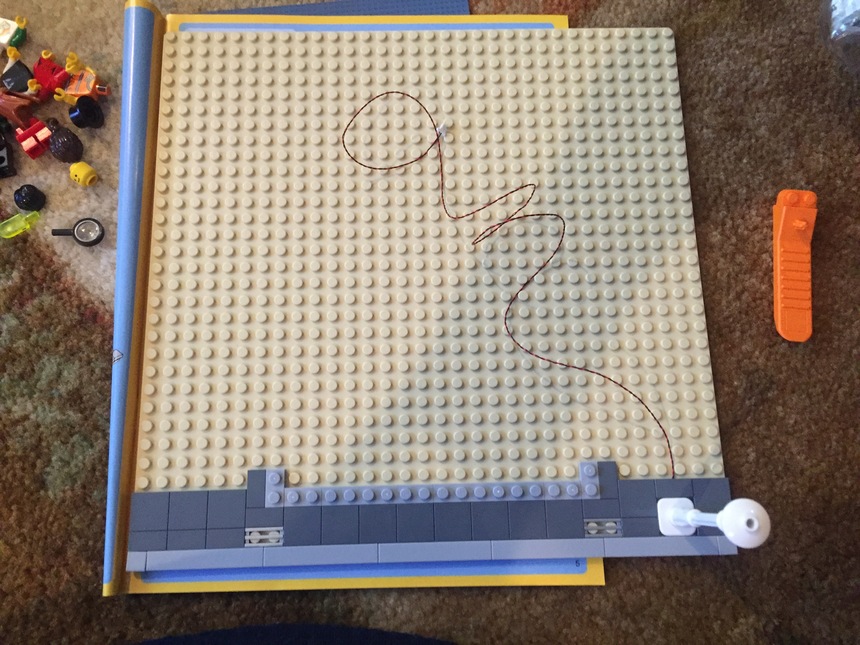


A quick note about the placement of the power button here. Make sure that you leave enough slack on the line coming out of the back of the building to move the power button from where you see it here as in that position, it would block the service doors to the elevator shaft. It actually fits better centrally located behind the building, which is where mine eventually ended up. Also, make sure to leave out the blocks that I mentioned in the specific instructions, as you can hide the 1x9 expansion beneath the sub-floor if you leave a gap down there (in these pictures, they were in place but I did remove them later so I could tuck the 1x9 in the gap).


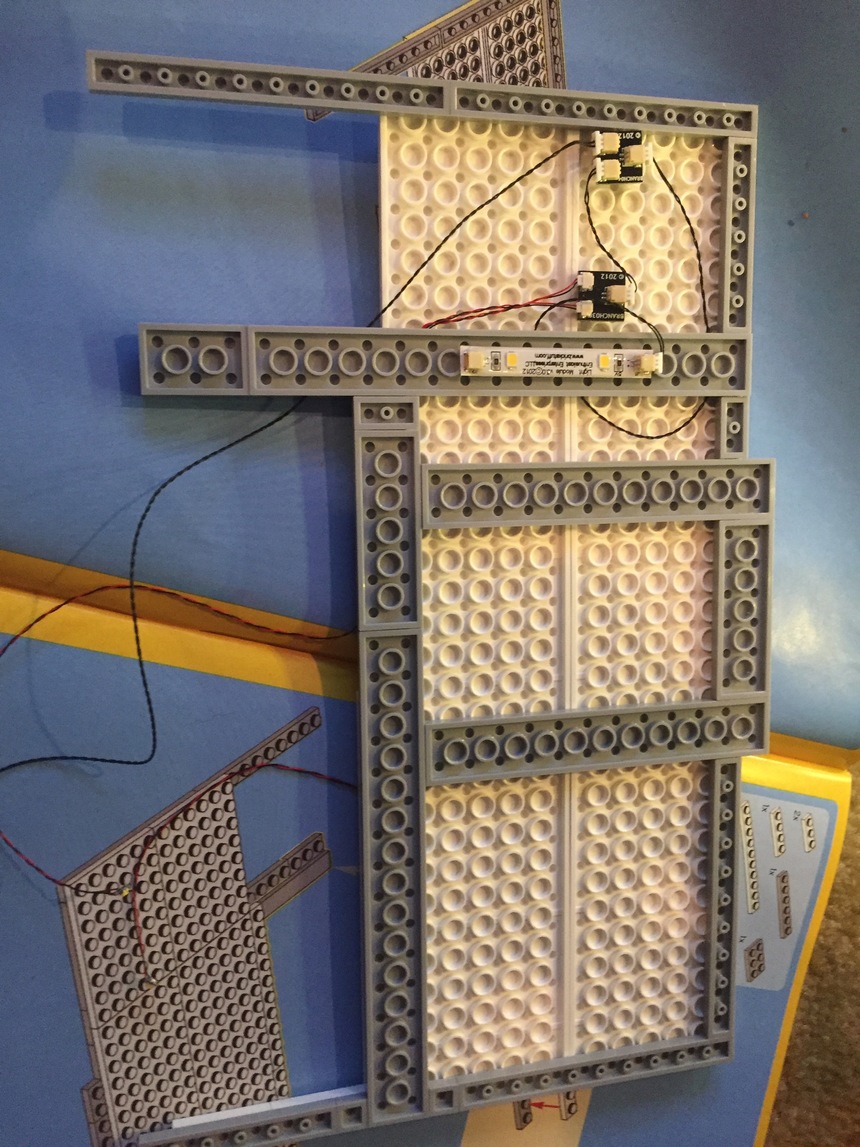
Ok, so let me interject something here about the back wall. With the addition of the three lights along the back wall, it will be DIFFICULT to assemble (and I do mean as in pull your hair out difficult!) because there is so little space to run the wires inside the walls. Just make sure you are patient when you start working on this section... it will take you some time :)


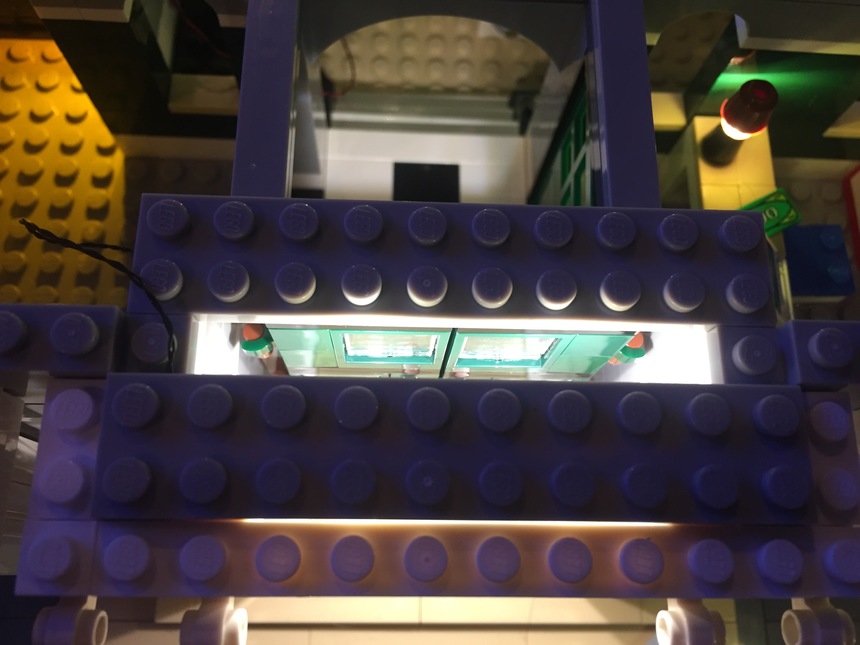

Another note here about the front doors -- the light will slightly impede the opening of the doors, but not too badly. You just have to be a little careful when opening the doors in the front of the building.
Now, on to the second floor:


The interior of the third floor is pretty easy, as there's just the elevator buttons here and passing through for the roof:


And then finally the roof. One note to make through the entire build though -- try to keep the elevator shaft as clear as you can if you want the elevator to work. I've got a couple of wires in there, but it is sparing at best.


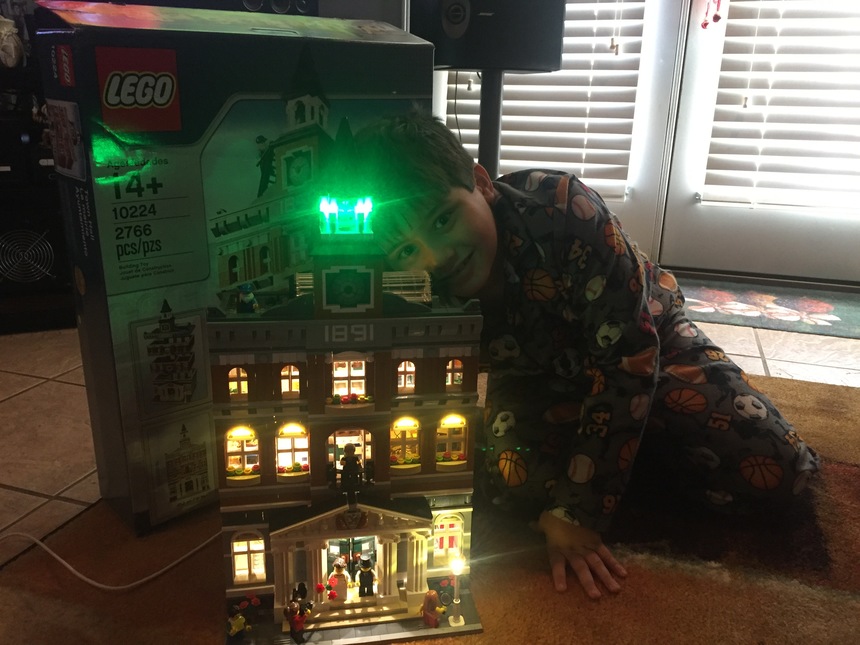
And that is about it! After we got everything assembled, we had our second addition to the modular buildings, a very happy little boy, and an awesome building that looks SO much better with the lights!


As always, comments and suggestions are always welcomed here.... it only helps to make all of our creations better. And, again, Rob we couldn't be doing all this without you!
----------------------
Town Hall (parts required)
- lamp post — 1
- warm white pico — 18
- light strips — 7
- 2x1 expansion board (small) — 9
- 2x1 expansion board (large) — 5
- 1x4 expansion board (large) — 1
- 1x8 expansion board (large) — 1
- 6” extension cable — 11
- 12” extension cable — 4
Town Hall:
- First Floor: run line for street lamp (page 5)
- First Floor: do not install the 1x6 block at the bottom of the elevator shaft (page 11)
- First Floor: do not install the 1x6 block at the bottom of the elevator shaft (page 14)
- First Floor: one (1) warm white pico LED for elevator button (replace button with set with translucent orange 1x1 round brick) (page 25)
- First Floor: warm white pico LED on the desk lamp (install on page 15 and then complete on page 26); also install 6” extension cable for light strip over door (may have to use 12” however; depends on where 1x2 will be from lamp post)
- First Floor: light strip under grey piece over front door (page 54)
- First Floor: two (2) warm white pico LED on interior lamp posts (page 55)
- Second Floor: two (2) light strips on underside floor (for first floor lighting) (book 2 page 6)
- Second Floor: one (1) warm white pico LED on desk lamp (book 2 page 20)
- Second Floor: two (2) warm white pico LED lights for elevator (replace buttons with 1x1 translucent orange round bricks) (book 2 page 25)
- Second Floor: four (4) warm white pico LED lights over front windows (replace grey round bricks with 1x1 translucent white round bricks) (book 2 page 31)
- Third Floor: two (2) light strips on underside of floor (for second floor lighting) (book 3 page 6)
- Third Floor: two (2) warm white pico LED lights for elevator (replace buttons with 1x1 translucent orange round bricks) (book 3 page 23)
- Third Floor: two (2) light strips on ceiling of third floor (book 3 page 39)
- Third Floor: one (1) warm white pico mounted with adhesive squire behind clock face (book 3 page 63)
- Third Floor: four (4)) warm white pico LEDs inserted at the top for each of the bell-tower posts (two in front and two in back) (must add 4 1x1 translucent yellow bricks to hold them) (book 3 page 72)
- Connector notes (build from ground up):
- First Floor: 2x1 expansion (small) (lamp post and desk lamp)
- First Floor: 6” extension cable (from lamp/street lamp to front door 1x2)
- First Floor: 2x1 expansion (small) (elevator button lights)
- First Floor: 6” extension cable (elevator lights to 1x8)
- First Floor: 1x2 expansion (large) (connect lamps & front door runs)
- First Floor: 12” extension cable (front door light to elevator shaft)
- First Floor: 1x2 expansion (small) (use for back lamp lights)
- First Floor: 6” extension cable (back lamp lights to 1x8 connector)
- First Floor: 1x8 expansion board with large plugs (for all extension cables)
- Second Floor: one 6” and one 6” extension cable (for 1st floor celling lights)
- Second Floor: 1x2 connector (large) (for desk lamp & 1st floor ceiling lights))
- Second Floor: 12” extension cable (from desk lamp to elevator shaft)
- Second Floor: 1x2 expansion (small) (for elevator lights)
- Second Floor: 6” extension cable (for elevator lights)
- Second Floor: two (2) 1x2 expansions (small) (for front window lights)
- Second Floor: one (1) 1x2 expansion (large) (for front window light expansion)
- Second Floor: 12” extension (from front window light to elevator shaft)
- Third Floor: one 6” and one 6” extension cable (for celling lights)
- Third Floor: 1x2 expansion (small) for elevator lights
- Third Floor: 1x2 expansion (large) for elevator lights and celling lights
- Third Floor: three 6” extension cables (for ceiling and elevator light expansions)
- Third Floor: 1x2 expansion (small) (for celling lights and elevator shaft)
- Third Floor: one (1) 1x4 expansion (for tower lights)
- Third Floor: one (1) 1x2 expansion (small) for clock face light
- Third Floor: one (1) 1x2 expansion (large) for tower and clock light expansions
- Third Floor: one (1) 12” expansion cable (for tower and clock lights)
1 reply
-
Nice writeup. Wish I had the time to re-do my TH :)