
Do you think they still give away free toasters when you open an account at the Brick Bank??
So after looking though all of the things we'd like to build that would have really cool light additions after finishing our first several projects, my son and I decided that we would like to do all of the Lego Modular Buildings. Of course, I decided that BEFORE we started looking at pricing on them! But we both really like them and I felt these would be some really good projects for he and I to work on together over the next year or so.
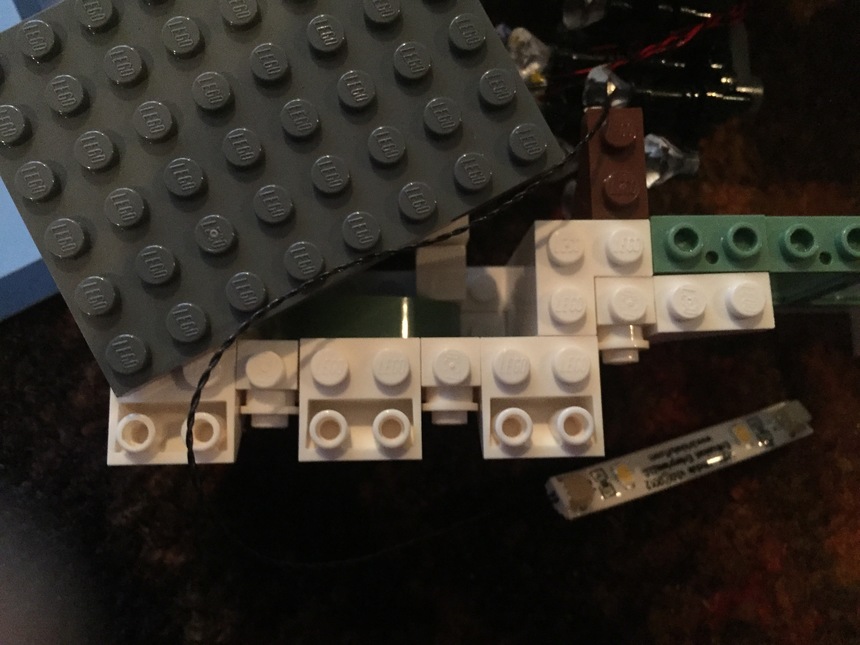
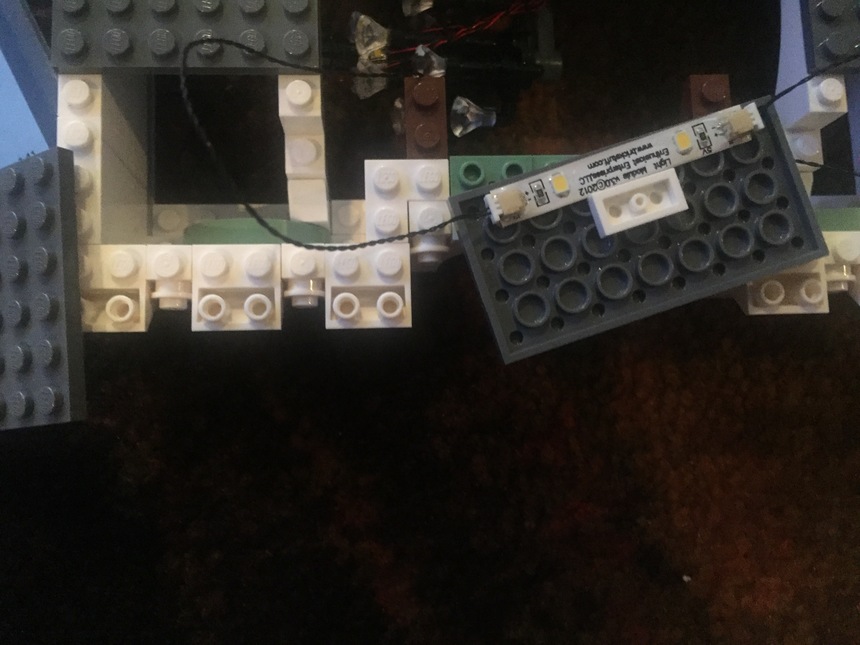
So, we started with the Brick Bank. The first floor is really pretty straight-forward. There aren't too many lights going in, and the most difficult ones you'll probably run across are the carriage lamps by the front door, just because you have to carry that wiring all the way back to the rear right-corner of the building:


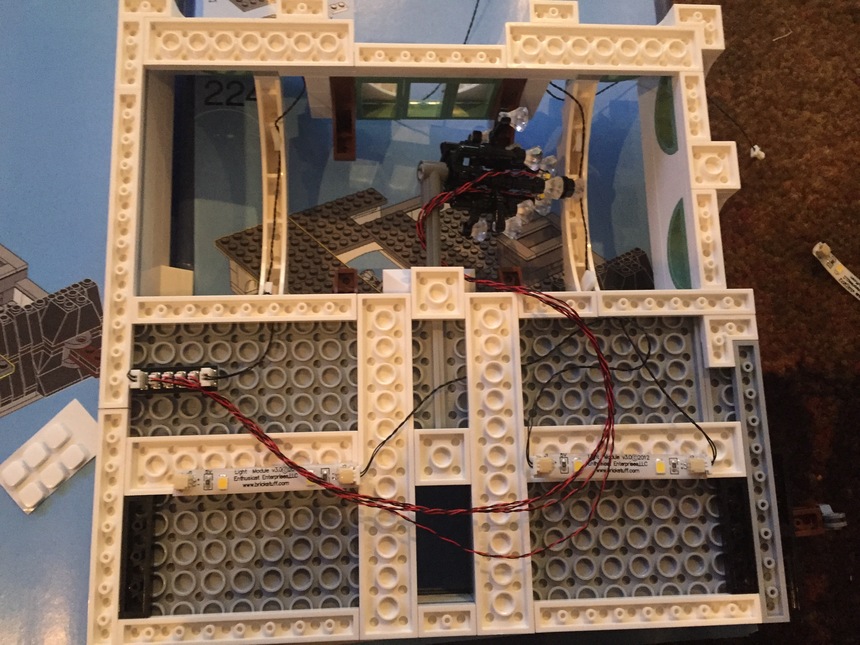
Then you can do the first floor ceiling lighting, using the stairwell for the wiring between the floors:


The interior of the second floor really doesn't have too much until you're getting to the ceiling. Just remember to bring that lead wire up from the first floor through the stairs:


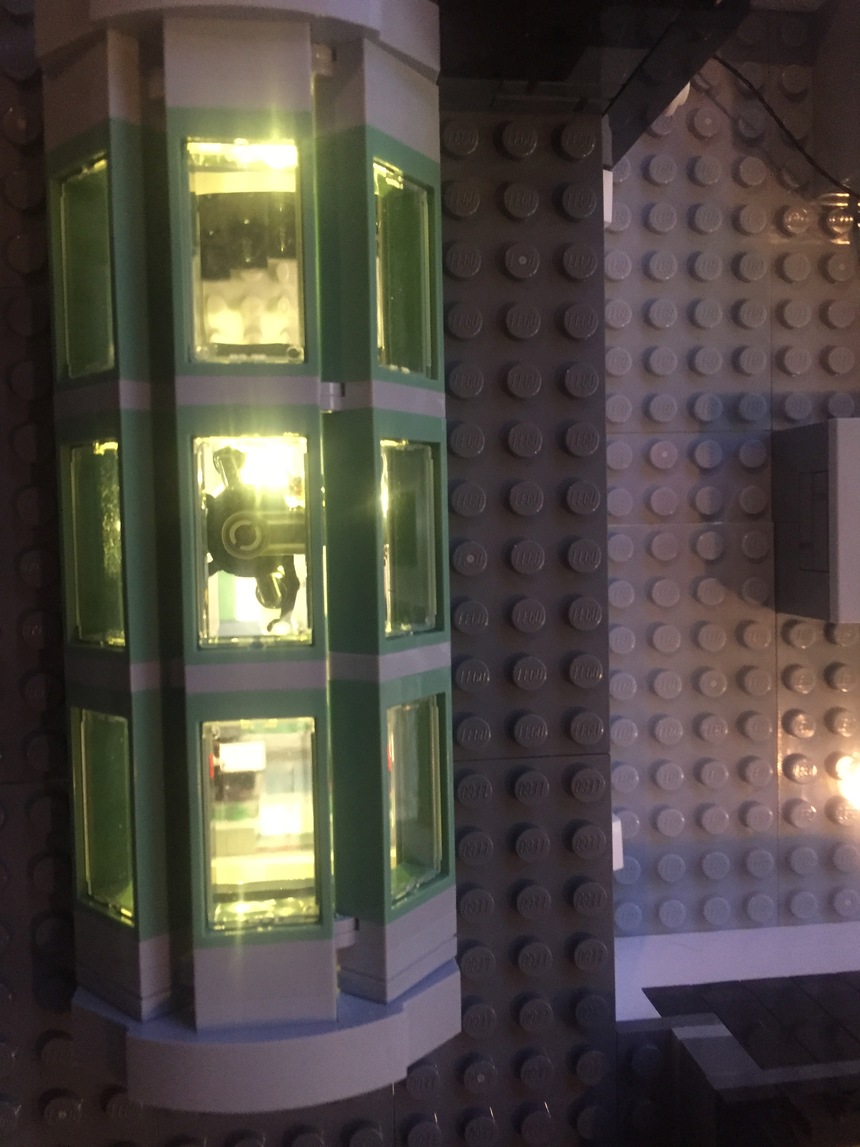
Now, when you're building the roof of the building, this is where the chandelier is build, as well as the ceiling lights for the third floor in addition to the outside facade lighting over the front of the bank. The chandelier looks more difficult than what it actually is to build, and I actually had more issues getting all the wiring straight between that and getting the facade lighting in place:


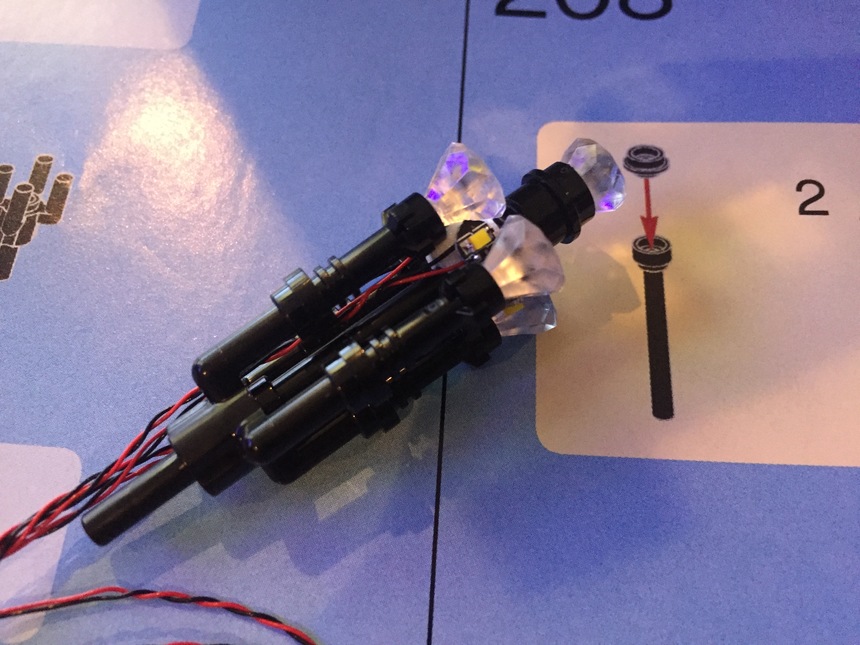


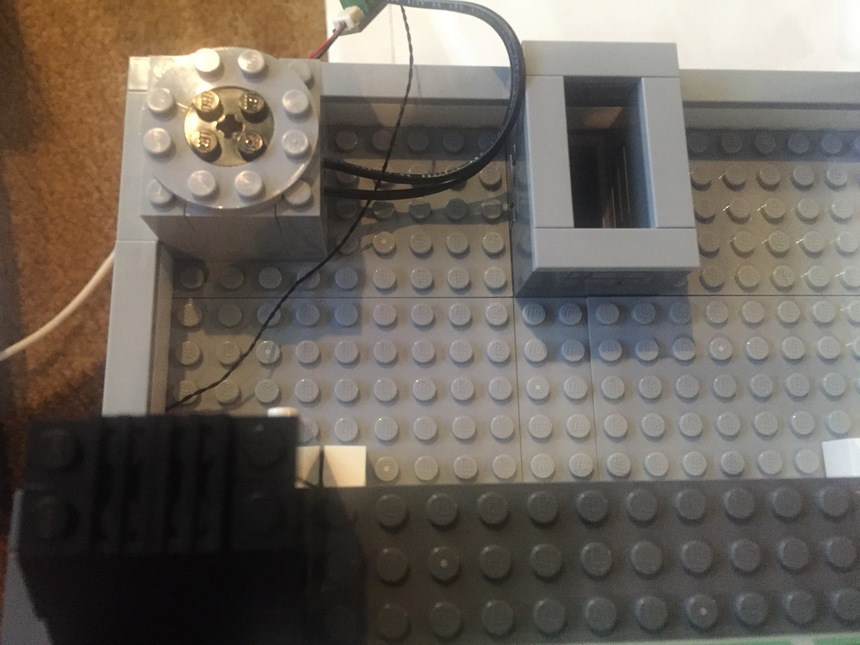
This was the cleanest way I could see to carry the wiring up to the roof by the way (since the power button was going to be installed up there for this model).

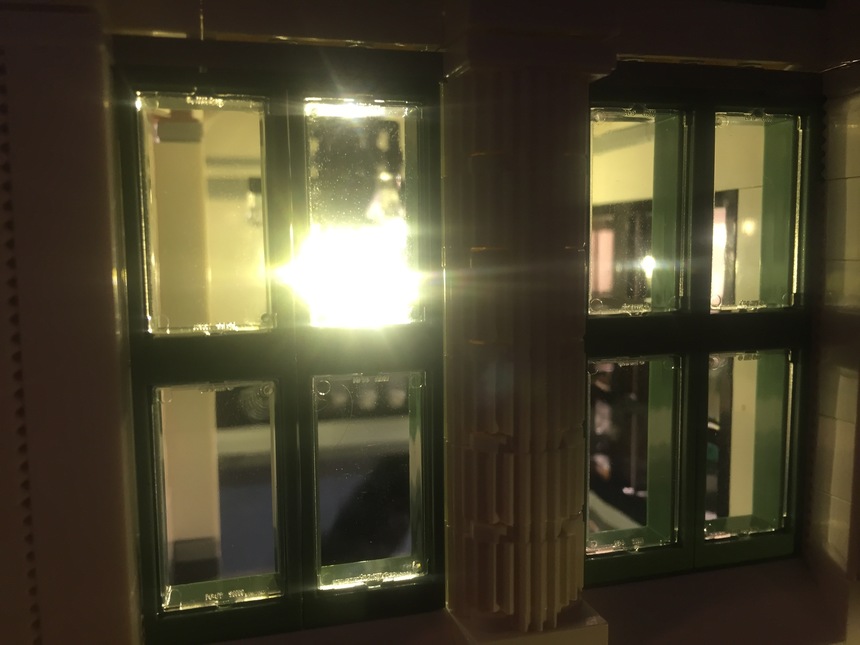
The following couple of pictures show how the wiring is run for the facade lighting in the front of the building:


And finally, the clean-up for the wiring and the installation of the power button on the roof (as this is a corner-design modular, there is limited curb space behind the building which is where I would normally hide the power button):


So what we have at the end of all this is one very happy little boy and a REALLY good looking modular building. We were so happy with how this one turned out that we cannot wait to do all the other ones now. Don't get me wrong... the modular buildings are awesome models that make an excellent addition to anyone's collection. But adding this to them just makes them that much better:


Let me know how you think this turned out!
2 replies
-
Hello John, nice work there. What material u use for light the building?
-
Thank you so much Chirita! My son and I appreciate it when people enjoy our work as well! I had to admit that for this particular model, he and I actually didn't do too many preparation notes as we'd really just wanted to do this one on the fly.
I know Rob and I have discussed it before, and I know I've come to appreciate this as we've done more and more models, but the lighting is a very personal thing for people; we enjoy posting pictures of the ones we've done in the hope that other's will tackle some of these projects as well. And, hopefully, the work we do is not only enjoyable to ourselves, but will inspire others to work on their own projects.
So, here are the notes that I have on this project specifically. I hope that you are ready to take on your own and will share the work with all of us here!
Page 12 (Step 9) — install the street lamp here before you start building the walls up; have the wire exit from beneath the flat files between the light and dark grey flat pieces
Page 56 (Step 79) — insert two white lights into the lamps over the front doors of the bank, running the cord through the black piece at the top until the light is flush against the end
Page 60 (Step 94 — put a flashing red light under the transparent red cover and bring the wire back over light blue brick (cover in step 95)
Page 62 (Step 101) — run the wire for the cash dispenser under the flat tiles at the top of the wall; also run the wire from the street lamp under the end of the long flat tile so that they both wind up in the Laundromat area
Page 63 (Step 102) run the wires from the front lamps in between the arch and the two stacked single bricks to bring the wires back into the building
Page 84 (Step 141) — place two light strips on the underside of the floor, one just beneath the main opening between the floors (centered) and another centered over the area for the laundromat; tuck the 6” connector cord under one of the 1x8 pieces
Page 115 (Step 184-185) — before you put the top on the second floor stairs, run the 12” lead from the first floor through the stairs so that it fits in-between the top of the stairs and the wall
Page 128 (Steps 205 & 208) — complete these two steps first and then use for small adhesive tabs to attach four white lights
Parts used:
- lighted lamp post
- first floor front carriage lights: two standard white picos
- first floor cash dispense: flashing red pico
- first floor connector: 1x4 expansion board
- first floor ceiling: two light strips
- second floor chandelier: four standard white pico lights (with adhesive squares)
- second floor lighting over front door: light strip
- second floor ceiling: two light strips
- second floor lighting over arch (in front of building): light strip
- USB power button & USB power cable